How to Package Vacuum Tubes for Shipping: Step-by-Step Guide
Vacuum tubes are fragile, valuable, and essential to the performance of tube amplifiers, preamps, and other Hi-Fi components. Whether you're shipping gear to a buyer, sending it in for service, or moving across the country, proper tube packaging isn’t optional—it’s critical. Mishandled or poorly packaged tubes can lead to broken glass, bent pins, and degraded performance, all of which are avoidable with the right steps.
In this step-by-step guide, we’ll walk you through how to properly remove, label, pack, and ship vacuum tubes the right way to ensure they arrive safely and ready to rock.
What You’ll Need to Pack Vacuum Tubes Safely
Before you begin, make sure you have the right tools and materials on hand:
- Handling gloves (cotton, nitrile, or disposable)
- One tube box per tube (or bubble wrap if boxes aren’t available)
- Bubble wrap, foam, or crumpled paper
- Packing peanuts (optional)
- A sturdy outer shipping box
- Packing tape
- Marker for labeling
- Pen and paper (if sockets aren’t labeled)
TMR Tip: If you don’t have original tube boxes, you can find affordable replacements online. We recommend either The Tube Store or Amplified Parts.
Why Vacuum Tubes Require Special Shipping Care
Vacuum tubes (also known as valves) are made of thin glass and sensitive internal components that can easily break or shift if mishandled. Even minor jolts in transit can damage a tube, especially if it's left loose in a box or inside a component.
Additionally, tubes can be heat-sensitive, pin-sensitive, and—depending on the amp—require matched positioning to function correctly. That’s why careful packaging isn’t just about avoiding breakage—it’s about preserving performance.
Before Starting
Some manufacturers will have specific instructions for shipping tubes along with their unit. Make sure to check your user manual before going through this process. There may be specific space in your factory packaging to hold each of the tubes, or they may have a special insert that goes inside the tube cage and recommend leaving the tubes inside the sockets (see example below).
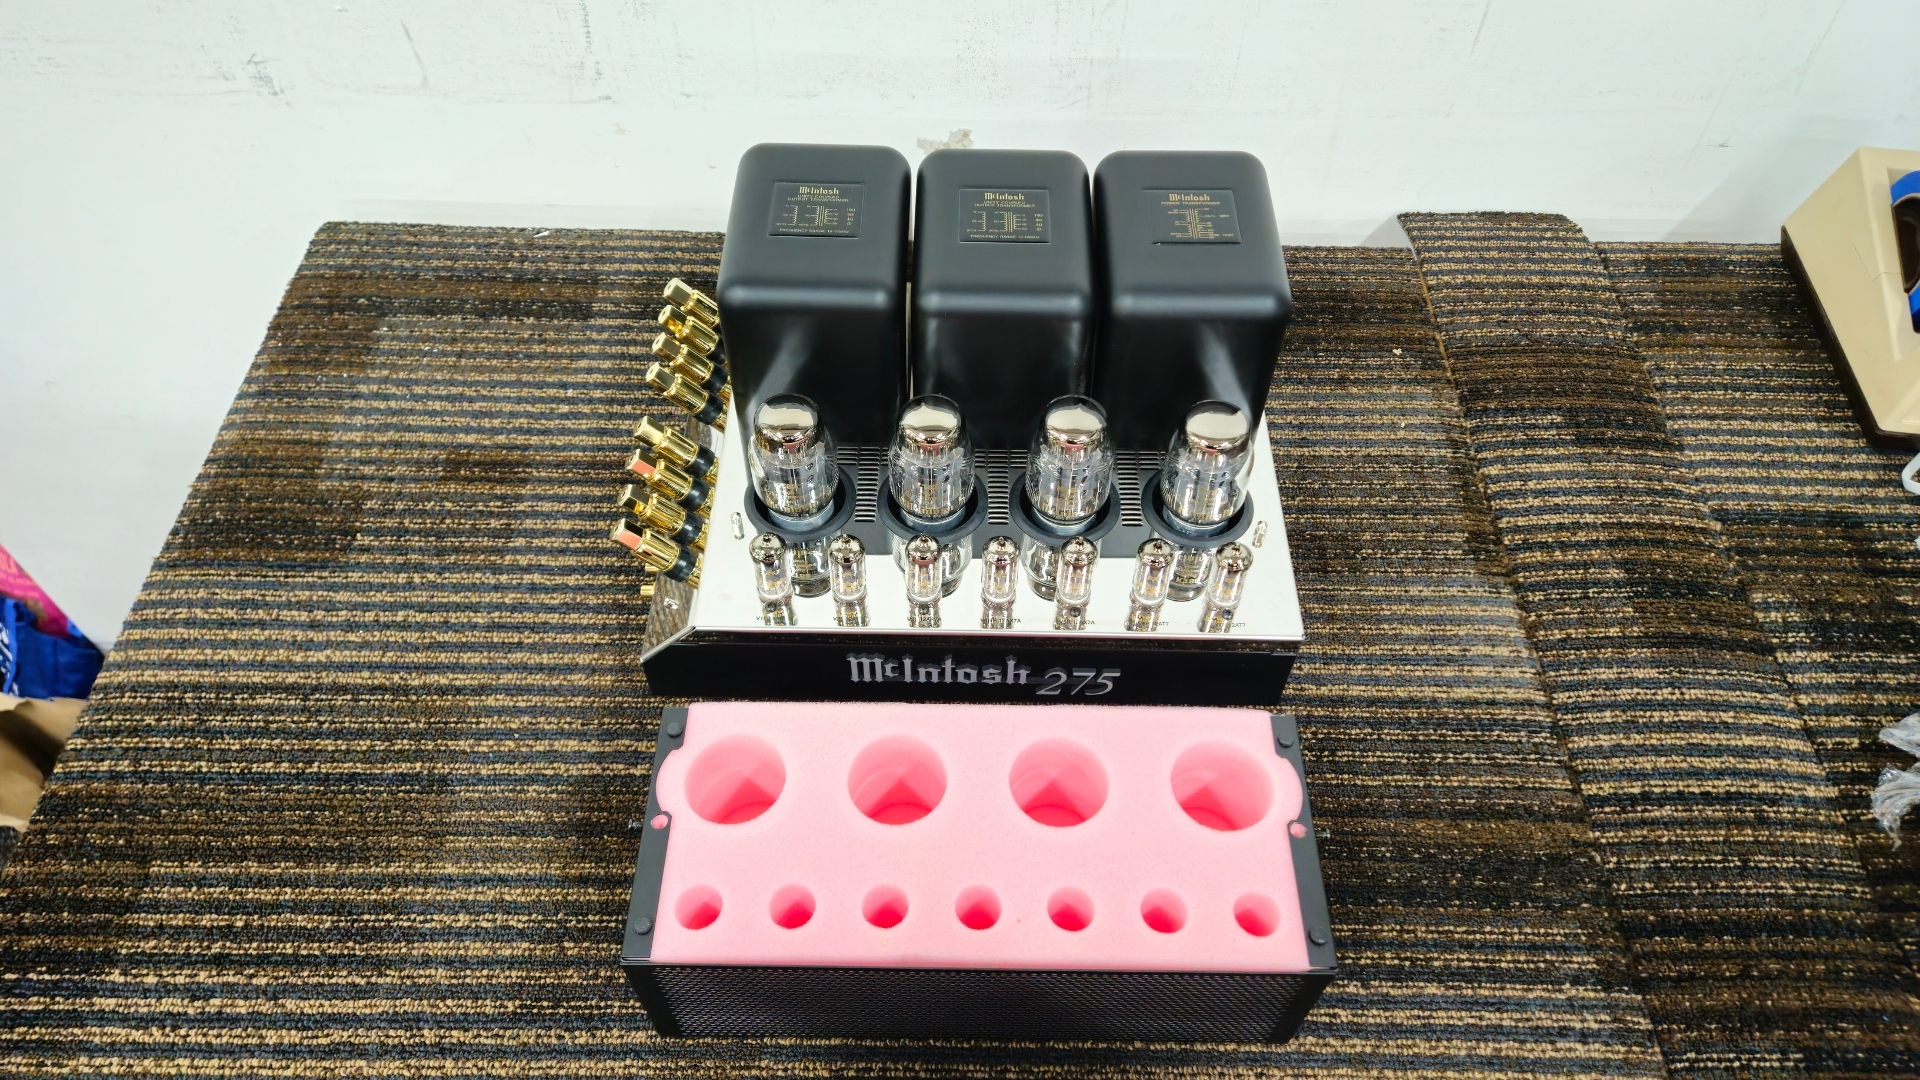
Be sure to check the manufacturer’s recommendations or instructions before using this guide, and follow those when available. If you’re unsure, removing and packing the tubes separately is always a safe bet, and is generally considered the best practice.
Handle Tubes with Gloves—And Care
Always wear gloves (preferably nitrile or cotton) when handling vacuum tubes. The natural oils from your fingers can leave residue on the glass. Over time, this residue can create hot spots, leading to premature wear or even failure during operation. Gloves also reduce the risk of static discharge, especially important when handling sensitive small signal tubes.
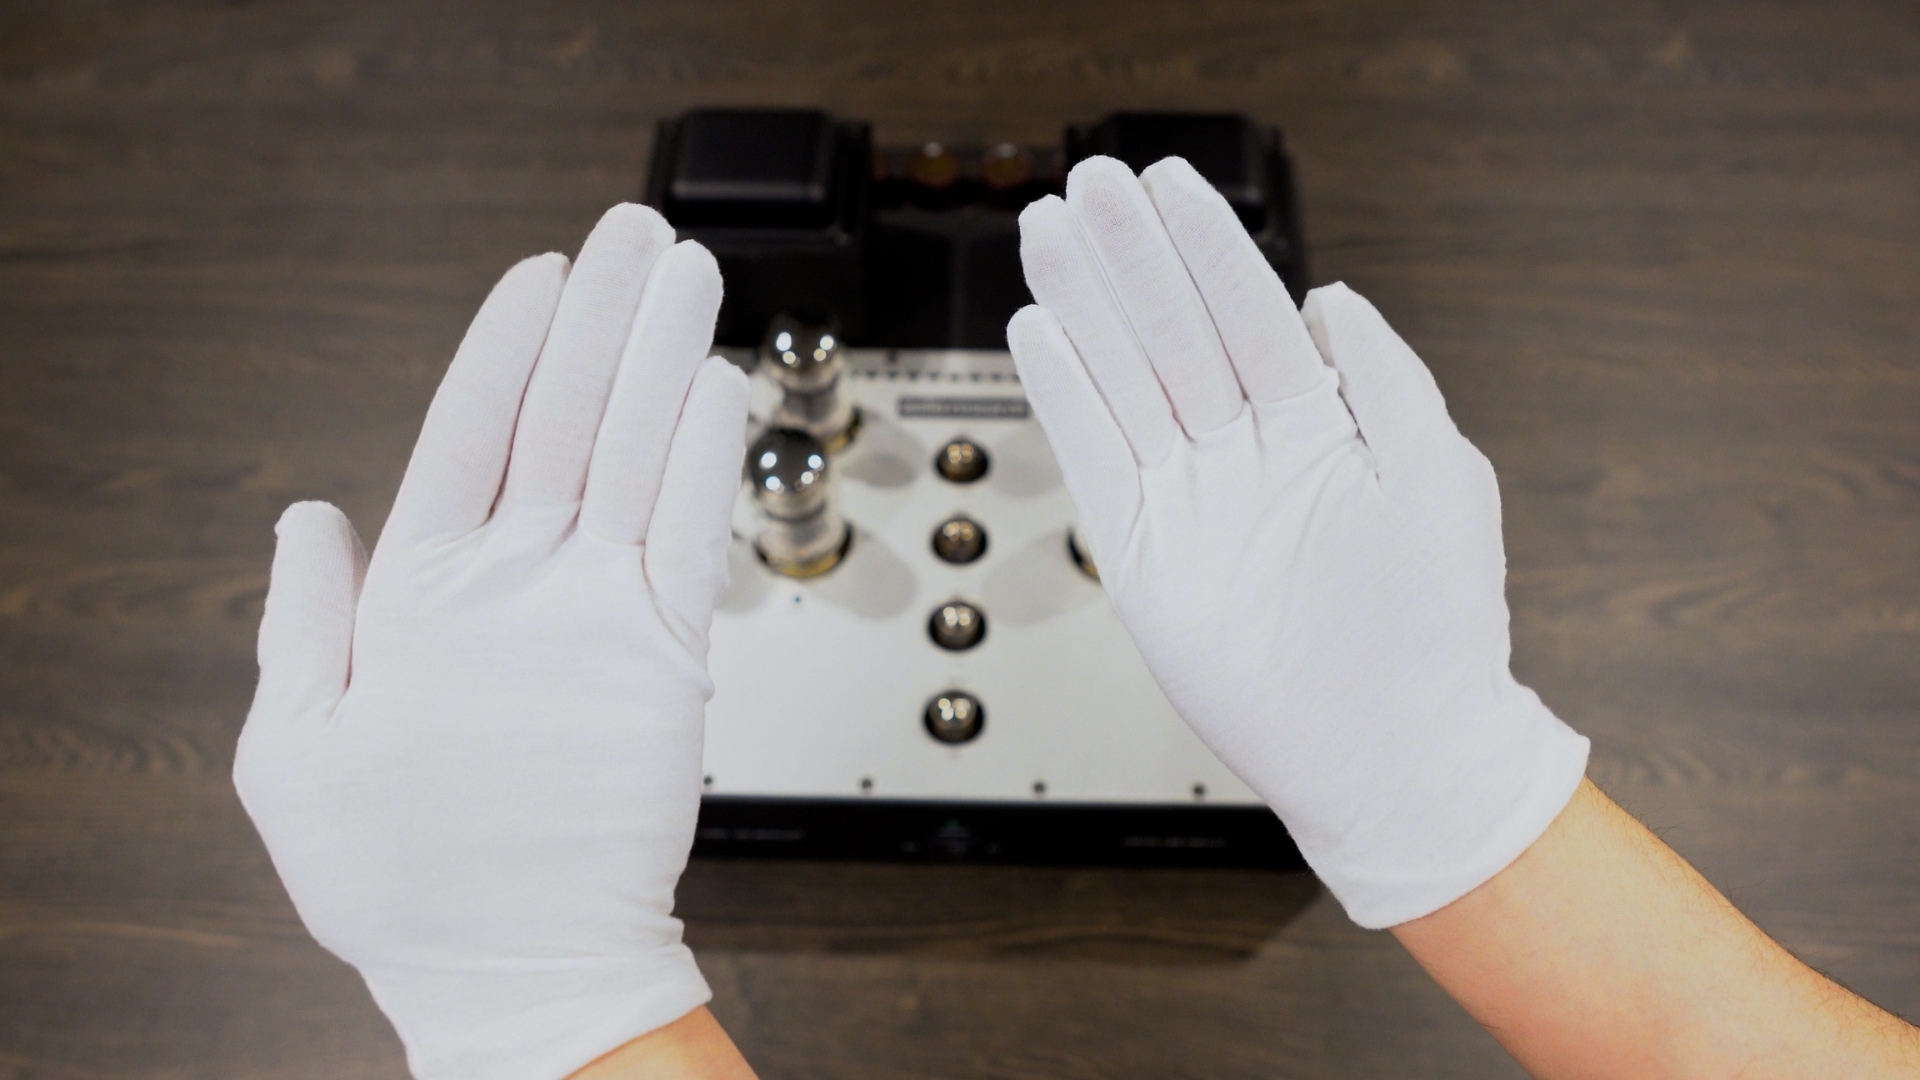
TMR Tip: If gloves aren't available, handle tubes using a clean, lint-free cloth and avoid touching the glass directly.
Step 1: Safely Remove the Tubes
Start by unplugging your gear and allowing the tubes to fully cool to room temperature. Tubes can stay hot long after use and should only be handled when cool to avoid injury or damage.
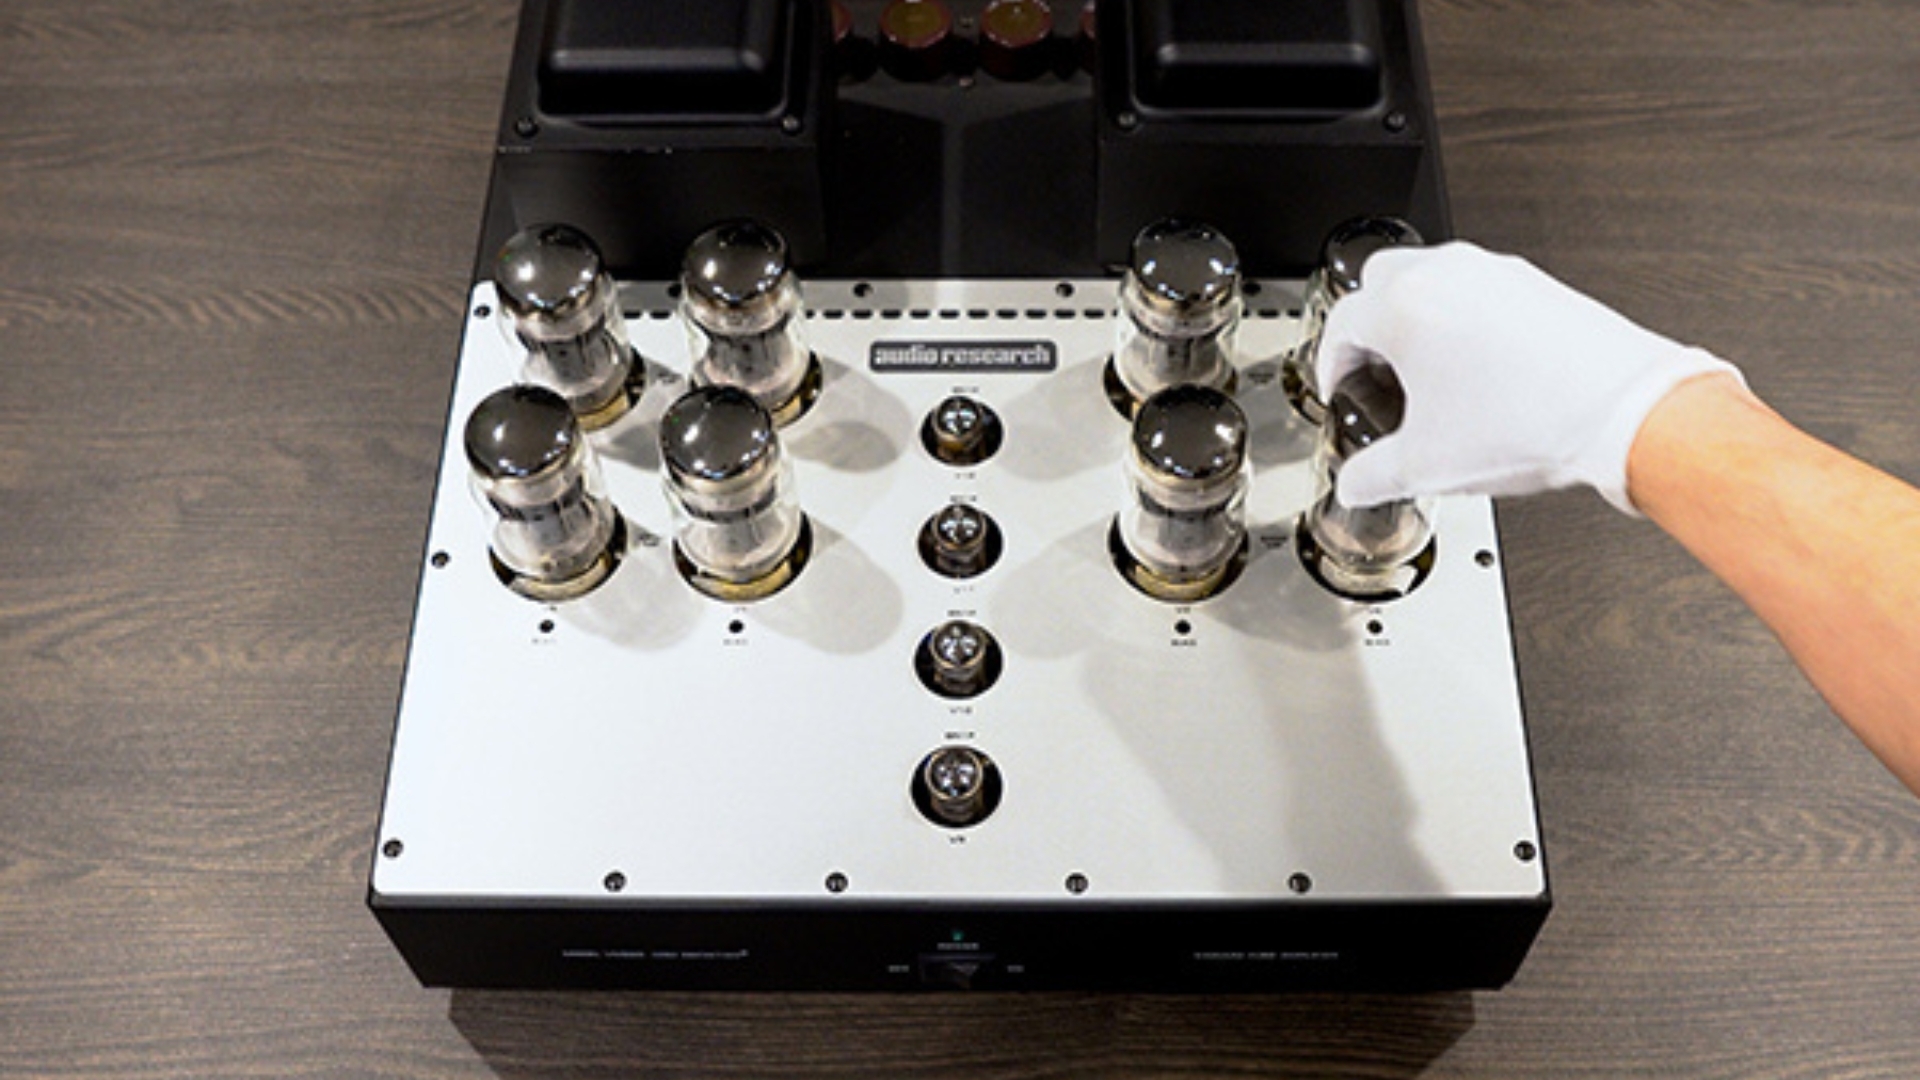
Next, gently remove each tube by pulling it straight up. If needed, lightly rock the tube side to side as you lift. Be extremely careful not to bend or force the pins—they’re fragile and can be damaged easily.
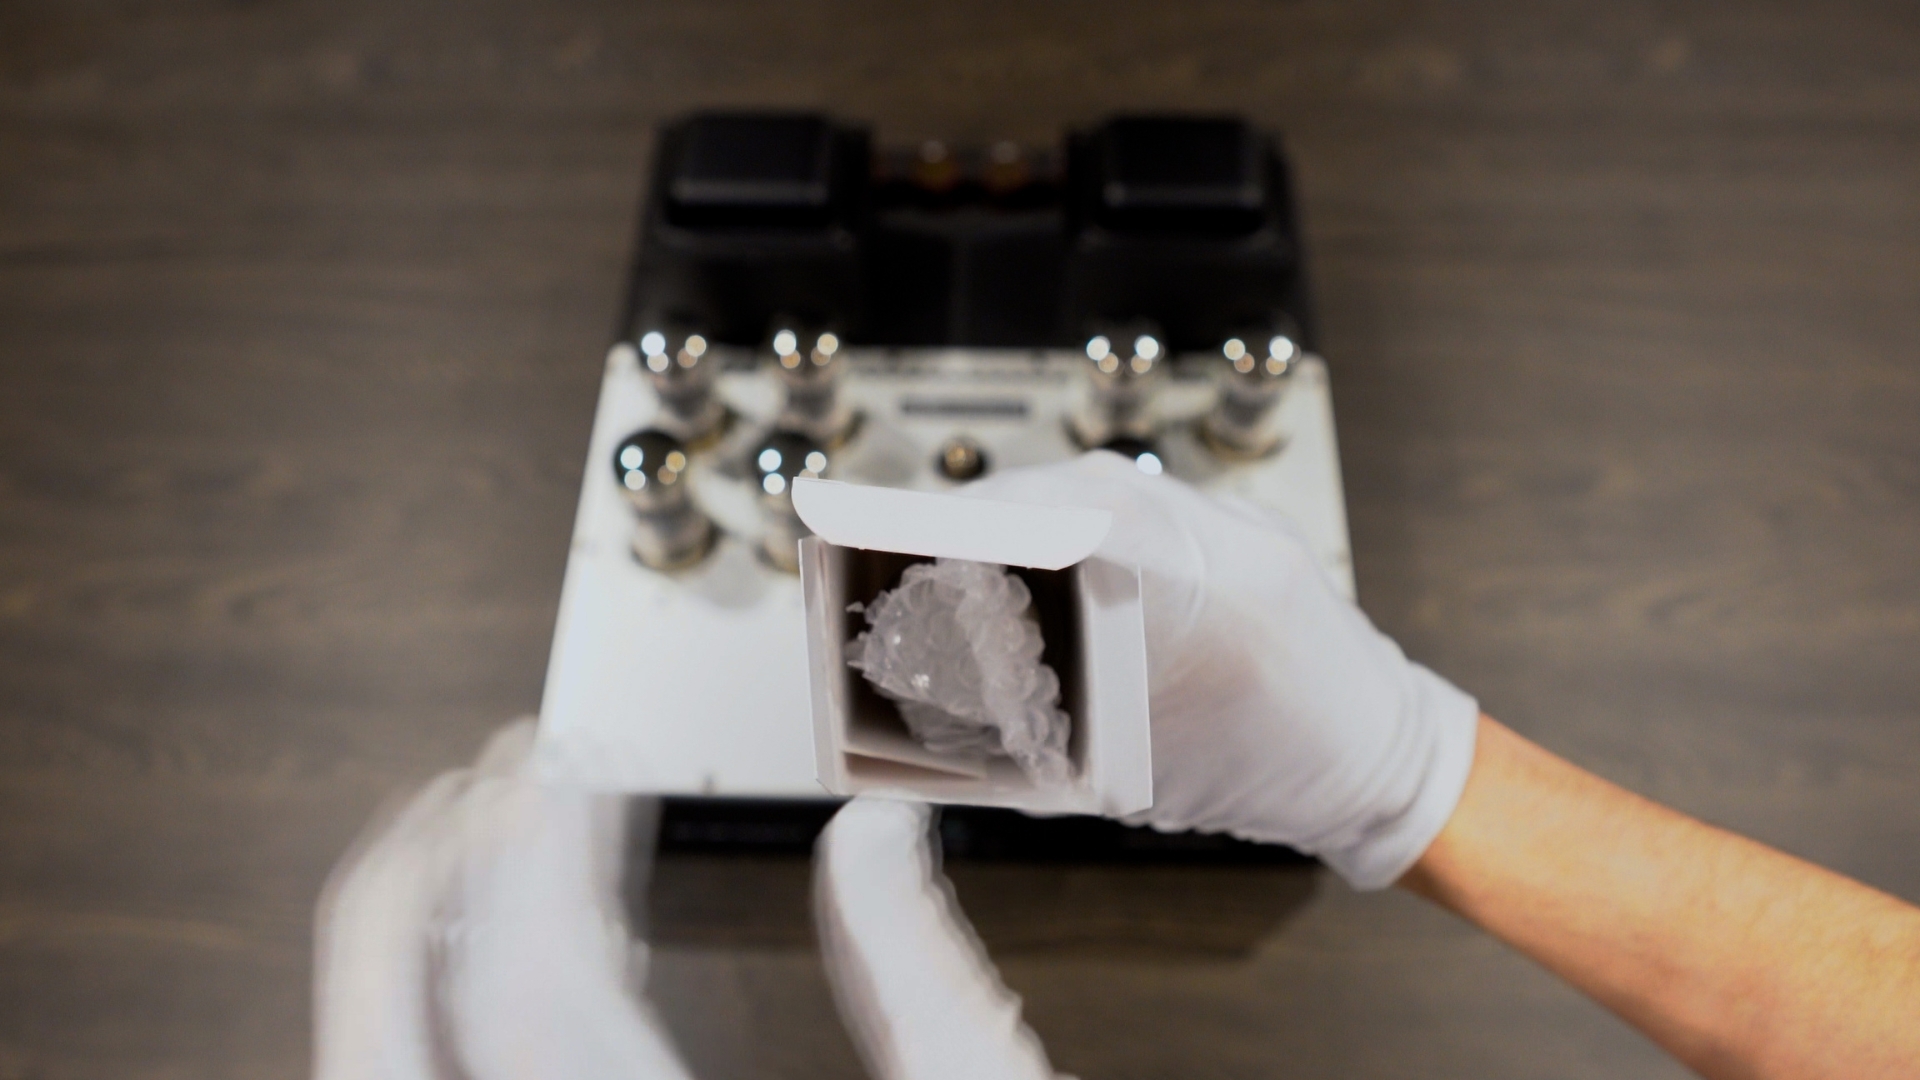
Step 2: Use Individual Tube Boxes or Secure Bubble Wrap
Each tube should be packed individually. If the tube came in a manufacturer's box—great. Use those. If not, you can buy aftermarket tube boxes or create your own small cardboard enclosures.
Before sealing the box:
- Place a packing peanut, foam, or a small piece of bubble wrap on top of the tube inside the box. This fills any empty space and helps prevent movement during shipping.
- Ensure the tube is snug. Movement = risk. If the tube can shift inside the box, it could crack or the pins could bend.
No box? Wrap the entire tube in several layers of bubble wrap, paying special attention to protecting the pins at the base. Secure with tape, but never tape directly onto the tube.
Step 3: Label Tubes if Biasing Matters
Some tube amps require tubes to be biased to specific positions (e.g., V1, V2, V3, etc.). If your gear requires this, it’s crucial to label each tube so it returns to the same position after shipping.
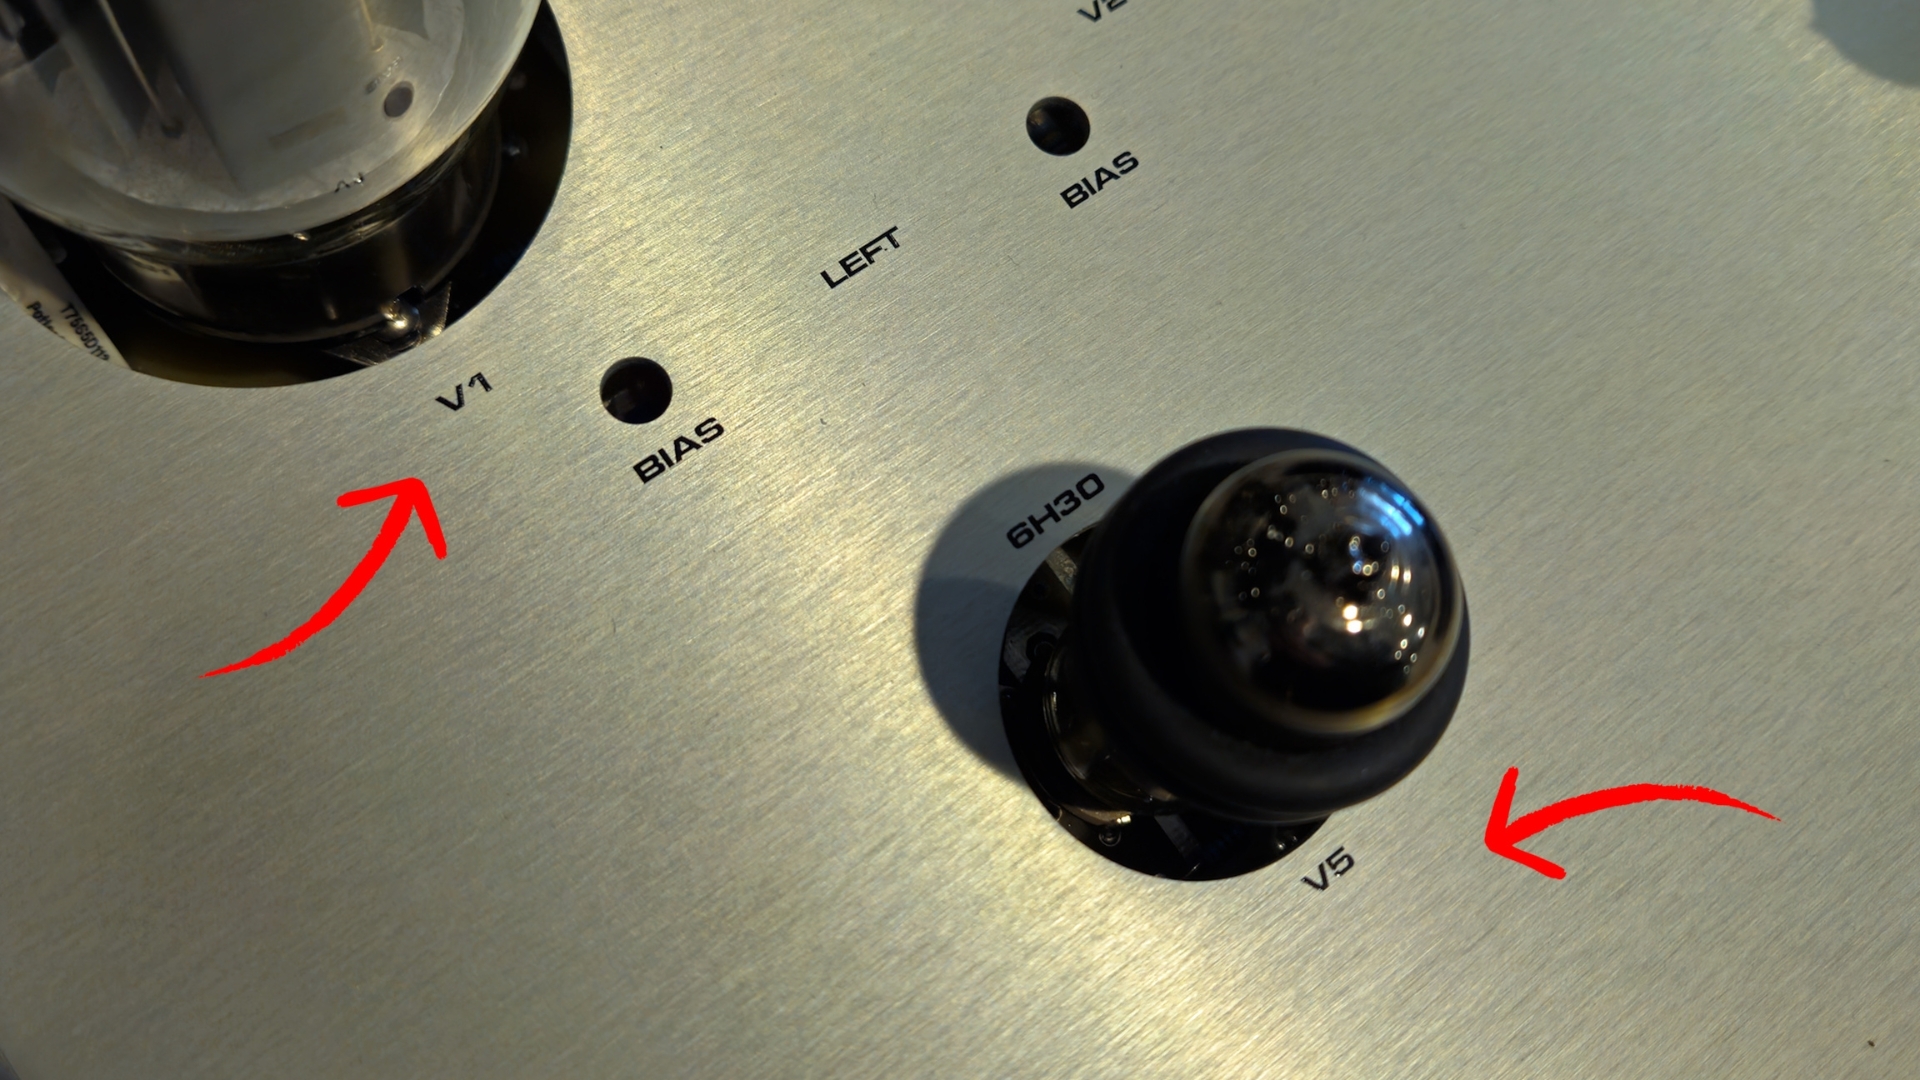
Label the tube or the tube box clearly. Use a permanent marker or masking tape with legible handwriting. A mismatched tube can cause performance issues, or worse, damage the circuit by drawing too much current.
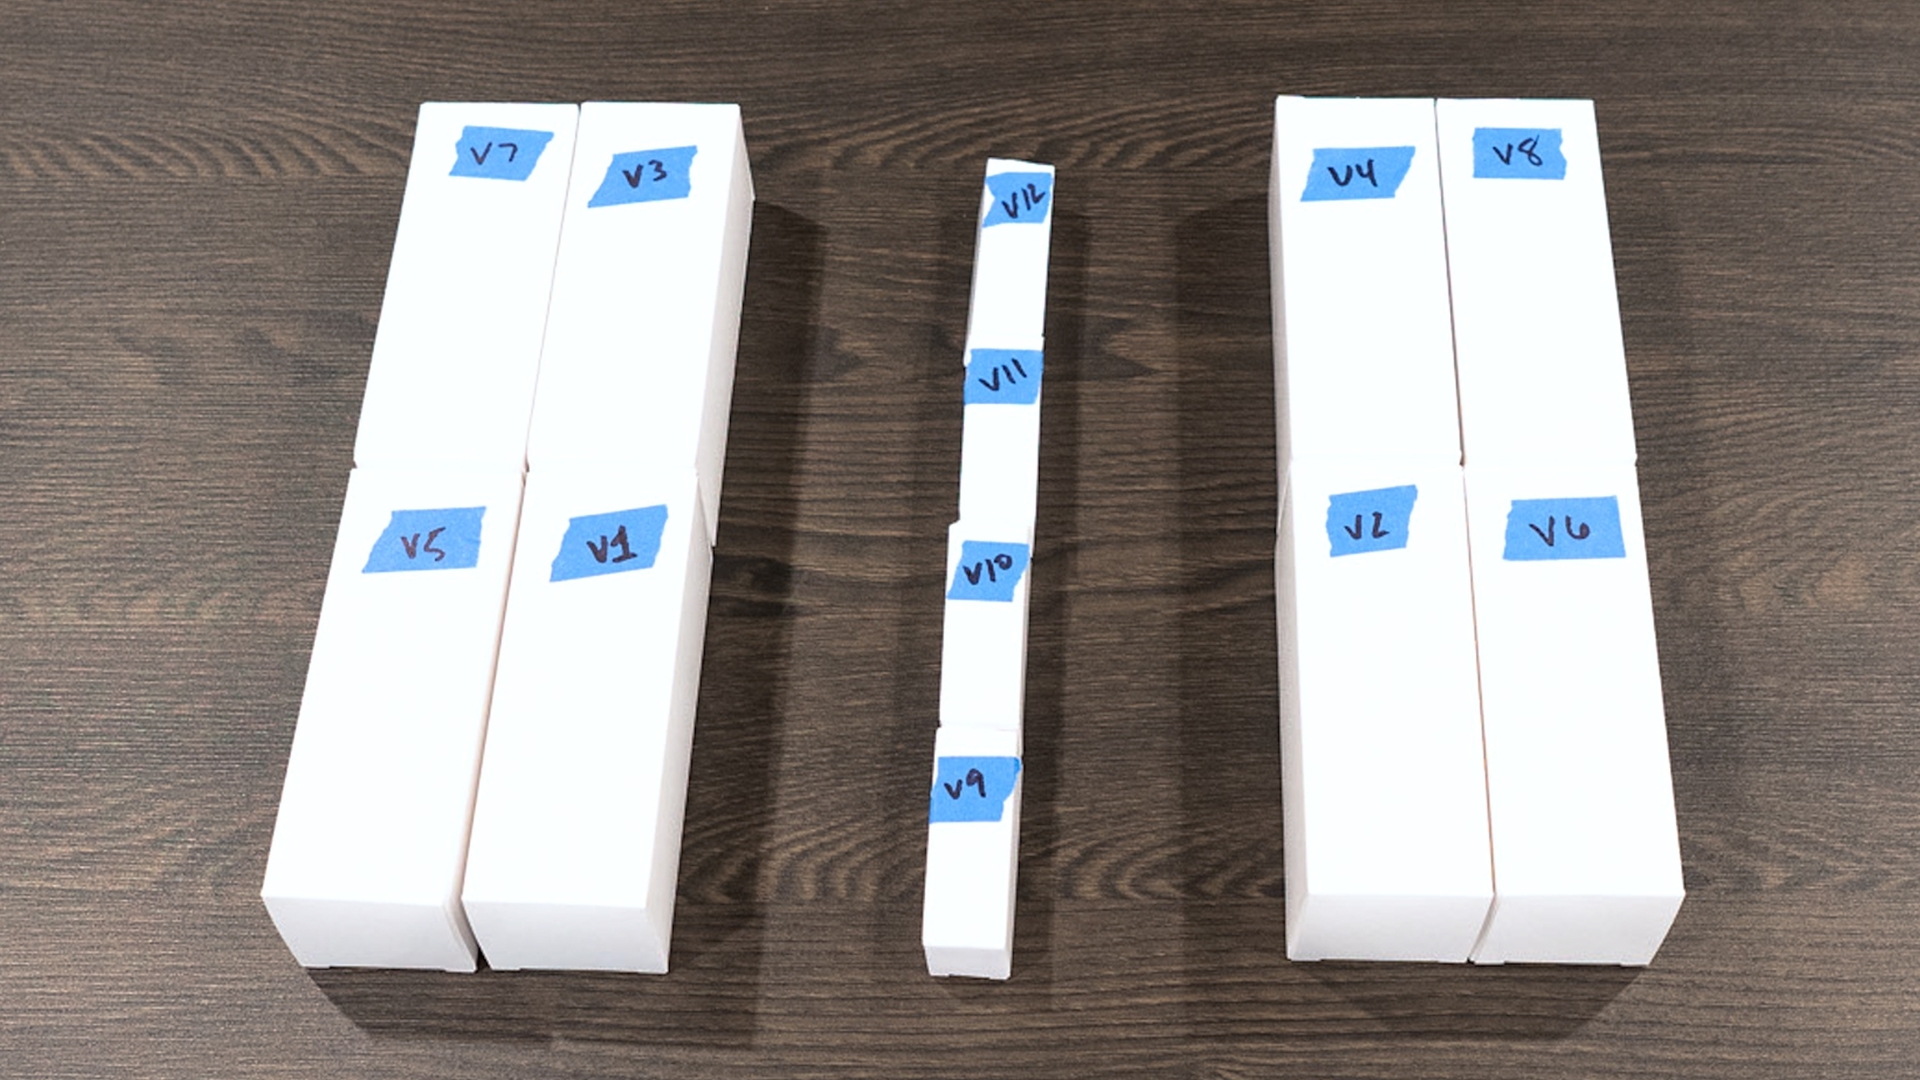
Why this matters: Tubes may appear identical but often have different wear levels or matched characteristics. Keeping them in order preserves system balance.
Step 4: Pack the Outer Shipping Box Securely
Once tubes are in their individual boxes or wrapped, it’s time to place them in a larger outer shipping box.
- Choose a sturdy box with no weak corners.
- Place all tubes together inside, arranging them like a game of Tetris for minimal movement.
- Fill all empty space with packing paper, foam, or bubble wrap. The goal is zero movement inside the box.
- Shake the box gently—if you hear anything shifting, repack.
Seal the outer box securely with strong packing tape. Double-tape the bottom of the box for extra support. If you do not have any boxes at your disposal, local shipping stores such as FedEx and UPS are likely the best place to find small shipping boxes and packing materials to pack all of the tube boxes in. Just make sure to get a shipping box that will fit all of your tubes, along with bubble wrap or packing peanuts to fill any extra space.
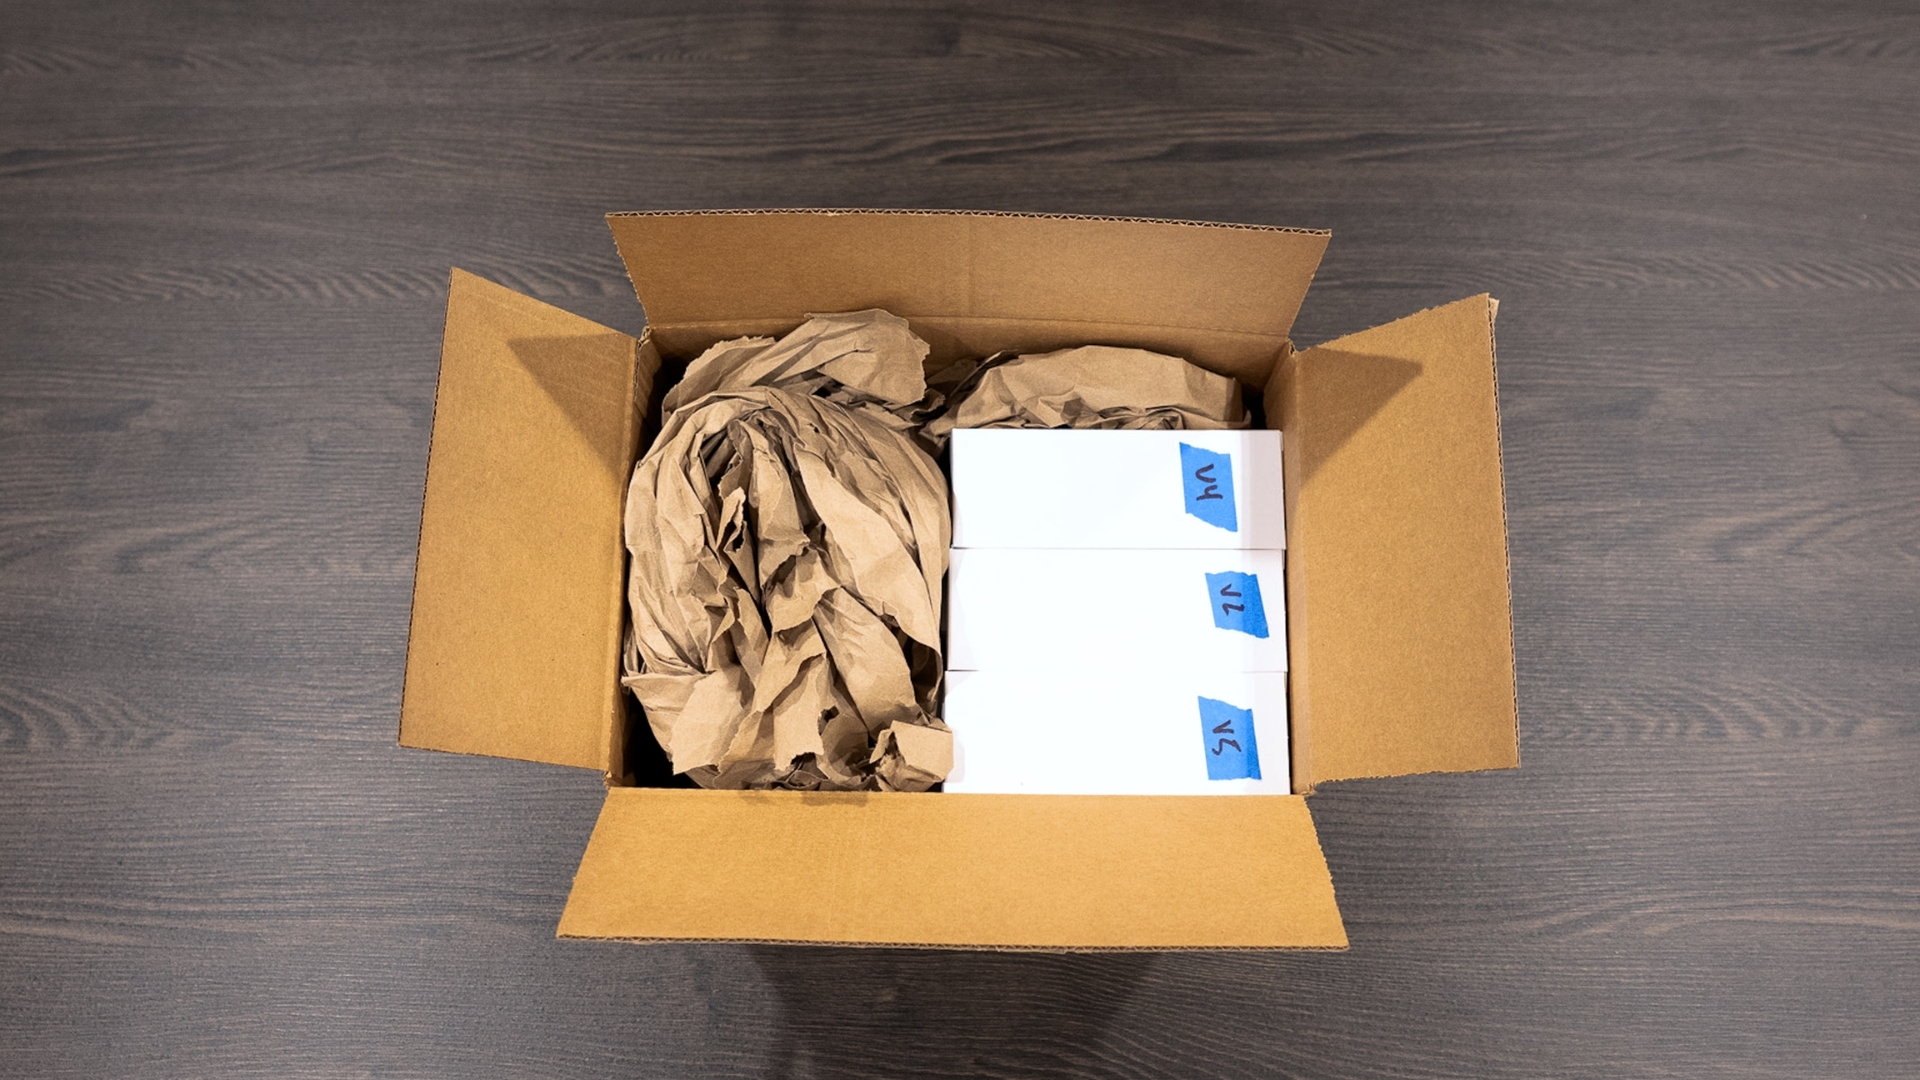
TMR Tip: Avoid using only packing peanuts—they can shift during transit. Use them alongside more stable fillers like crumpled paper or foam inserts.
Step 5: Special Considerations for Specific Tube Units
Some gear, like integrated amps or tube preamps, may include their own packaging materials for tube protection. Check the user manual or manufacturer's instructions—many brands provide foam inserts or molded packaging for tube shipping.
While it might be tempting to leave smaller tubes (like 12AX7s) in the unit, we strongly recommend removing all tubes before shipping. Internal tube sockets weren’t designed to absorb the shocks of transit, and a strong enough jolt can cause damage to both the tube and the socket.
Always read your user manual. Some brands specify exact shipping instructions to preserve warranties.
Bonus Tips
- Photograph your setup before removal. This helps with reinstallation later, especially if you're unfamiliar with which tube goes where.
- Include a diagram or label system inside the box to help the recipient reassemble the unit correctly.
- Insure your shipment. Tubes are expensive and often irreplaceable. Insure the full replacement value when shipping.
In Summary: Tube Packing Checklist
✔️ Wear gloves when handling tubes
✔️ Use individual tube boxes or wrap securely
✔️ Label tubes that require biasing
✔️ Eliminate all movement inside the shipping box
✔️ Remove all tubes from the gear
✔️ Use filler materials to protect against impact
✔️ Seal the box and insure the package
Watch: How to Pack Vacuum Tubes the Right Way
Want to see it in action? Check out our short video guide on safe tube packaging and avoid the common mistakes we see every day.
Ready to Sell or Ship Your Tube Gear?
Proper packaging protects more than just glass—it preserves the value of your gear. Whether you’re selling, trading, or just storing your gear, take the extra time to do it right. Your future self (and your tubes) will thank you.
If you’re selling, trading, or consigning your tube amplifier, The Music Room can help. We handle all logistics—from packaging and pickup to testing and listing. It’s the safest, most stress-free way to get full value for your gear.
